Creating and Adjusting Business Hours Schedule
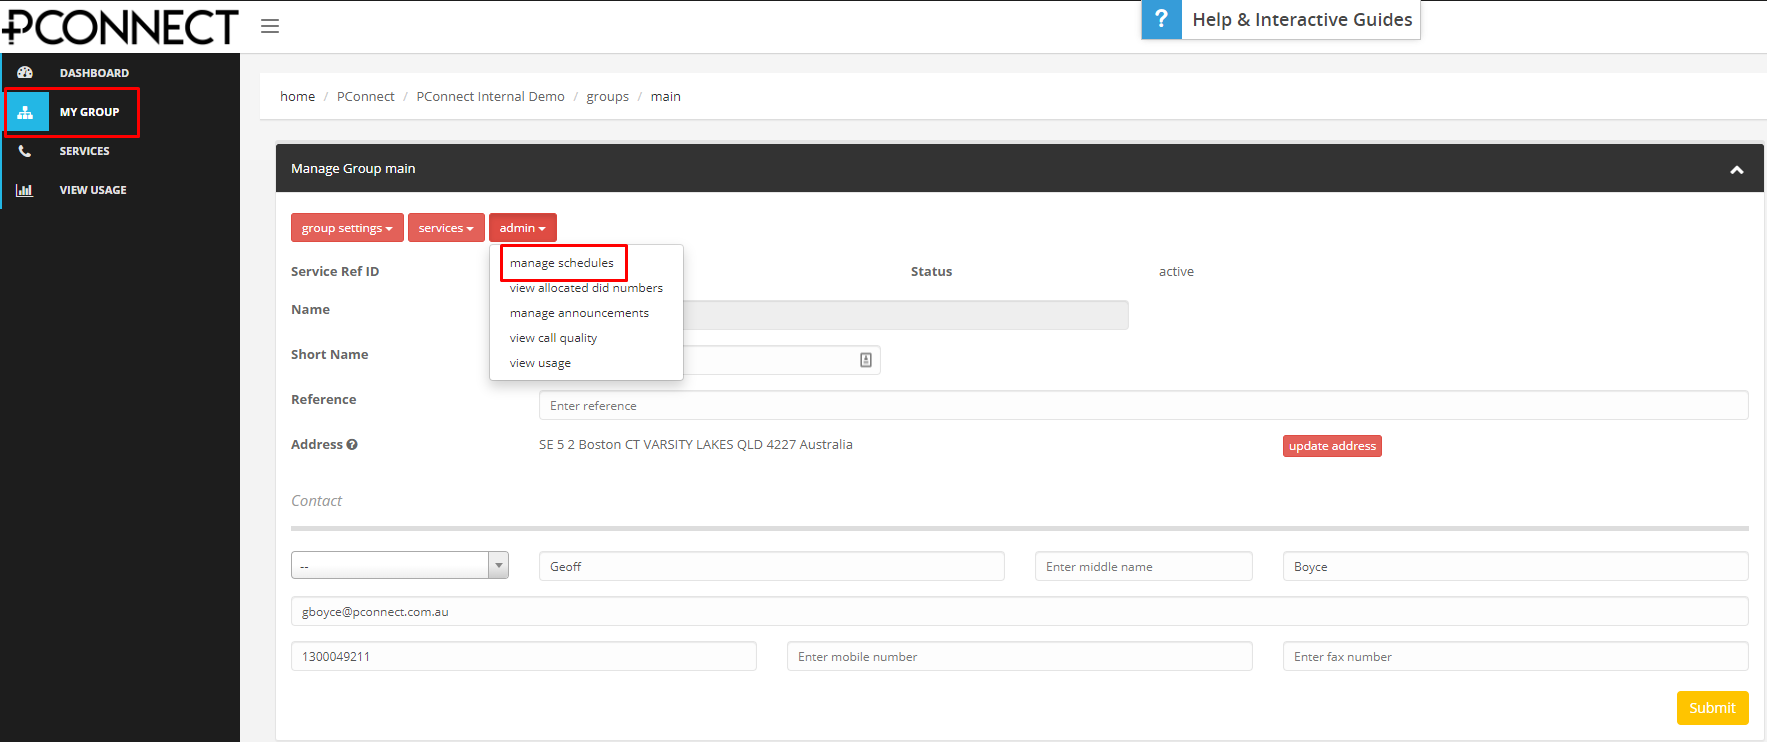
Click on “Create” button

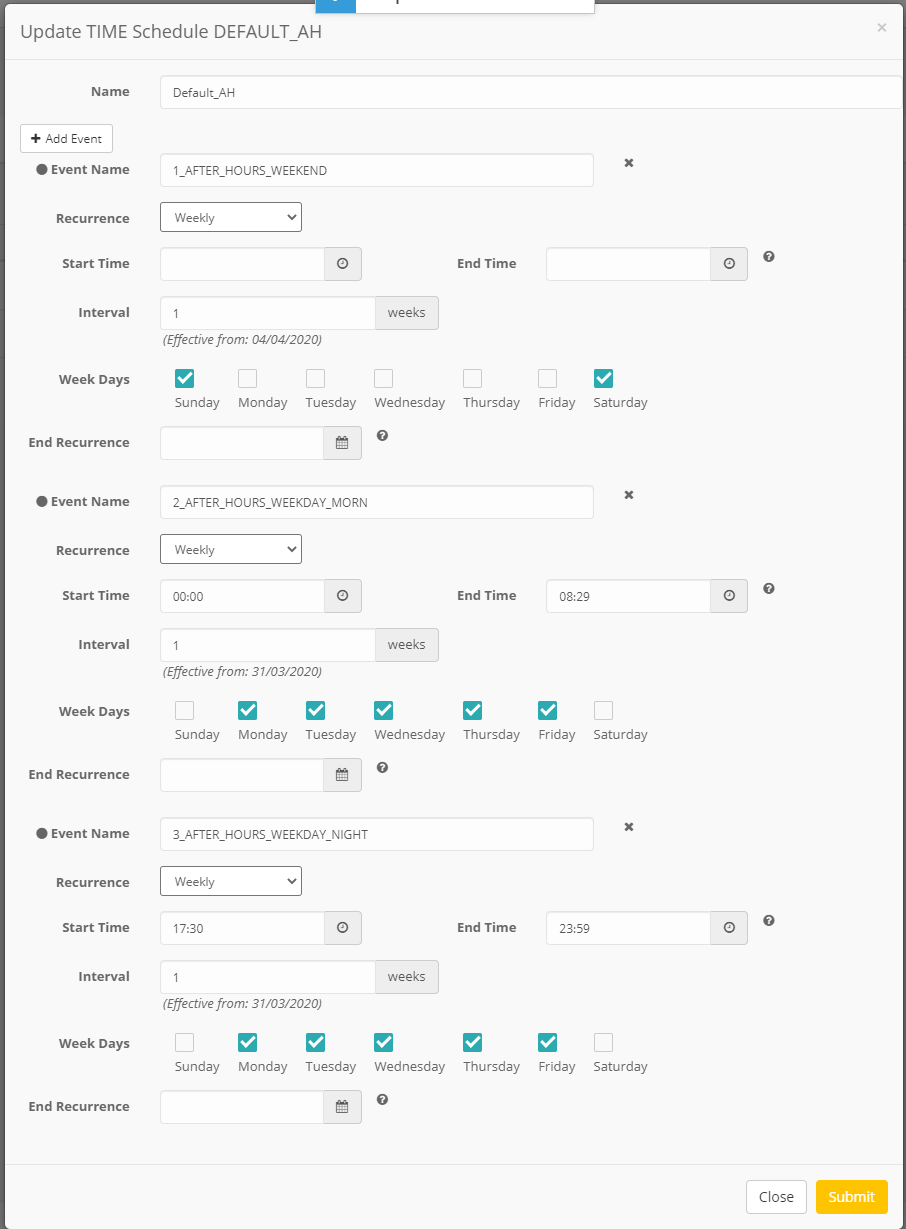
Below is an example of how the time schedule would be setup for a business that operates between 8:30am and 530pm, Monday to Friday. Some key points to look out for here is that we setup the time entries such that it outlines the numbers for which the business is closed. E.g. 00:00 to 08:29 and 17:30 to 23:59. Hence we will need to create a day and night event to setup the correct schedule. Here’s an explanation of each field.
Name: What you want the time schedule to be called.
Event Name: What you want the time event to be called.
Recurrence: How often do you want the event to be repeated, typically we would set this for weekly for enterprises whose business hours stay the same week by week.
Start Time: Start of event in 24 hour format (HH:MM)
End Time: End of event in 24 hour format (HH:MM)
Interval: How often it is repeated – e.g. Once every two weeks or once every week. We’d typically set this to 1 to repeat every week
Week Days: Tick the days that this is applicable for – this will only show up depending on the Recurrence setting you have set.
Hit “Submit” when done.
You should now see your schedule listed now. To edit it further you can click on the schedule you want to adjust by selecting the “Actions” drop-down and selecting “Edit”.

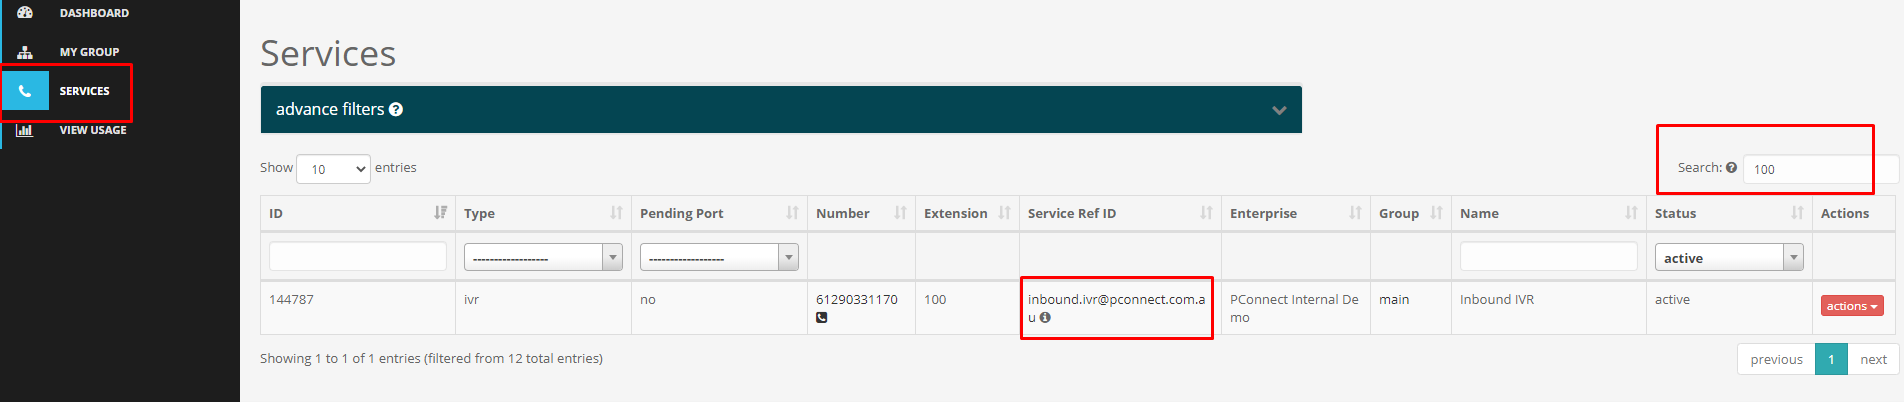
Now we want to apply this to a service in PConnect. Click on “Services” on the left hand panel and use the Search field to filter the service you want to add the schedule to and click on the “Service Ref ID”
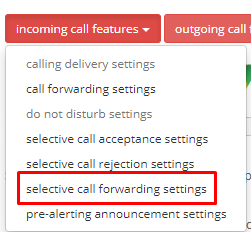
Click on “Incoming call features” drop down and select “Selective Call Forwarding Settings”
Click on “Create” 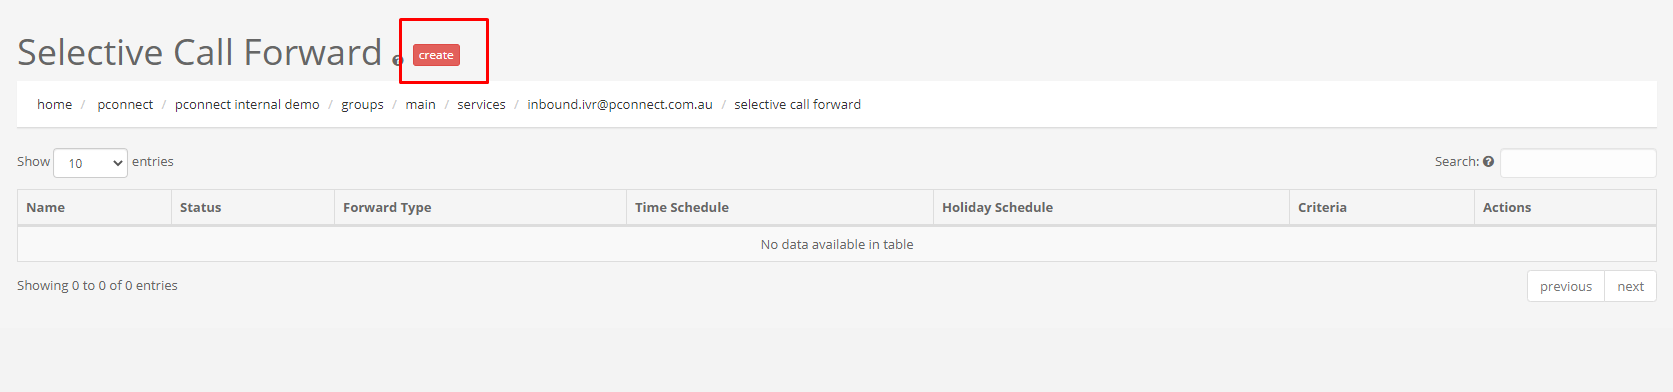 Fill out the details as per below example:
Name: Name of the call forward rule.
Call Forward Type:
Forward to Specified Number: This option says “If it is during the time period defined in the time schedule, forward the inbound call to this number”. Typically we would set this to go to voice mail (*55 and then the extension number of the voicemail e.g. *55100) so it can play the after hours greeting message and allow the caller to leave a voicemail if necessary. E.g. for the schedule we had setup previously, during 00:00 and 08:29 and 17:30 and 23:59 it would go to voicemail. You can choose to setup a mobile number here as well if there is someone working after hours.
Do not forward: Do not forward call. This is typically only used for when you want certain callers to be able to call through during the hours defined in the time schedule. E.g. Your normal business hours are 8:30am to 5:30p.m but you want the director to be able to call and reach through to this user/group from his mobile phone 0412345678 outside of those business hours.
Time Schedule: Select the time schedule you created previously.
Holiday Schedule: Set to None (Please refer to the later sections for when we configure the Holiday Schedules)
Calls From Any Number: Yes/No – You can select No to define a specific set of numbers to forward. Typically we’d select Yes for all numbers to forward.
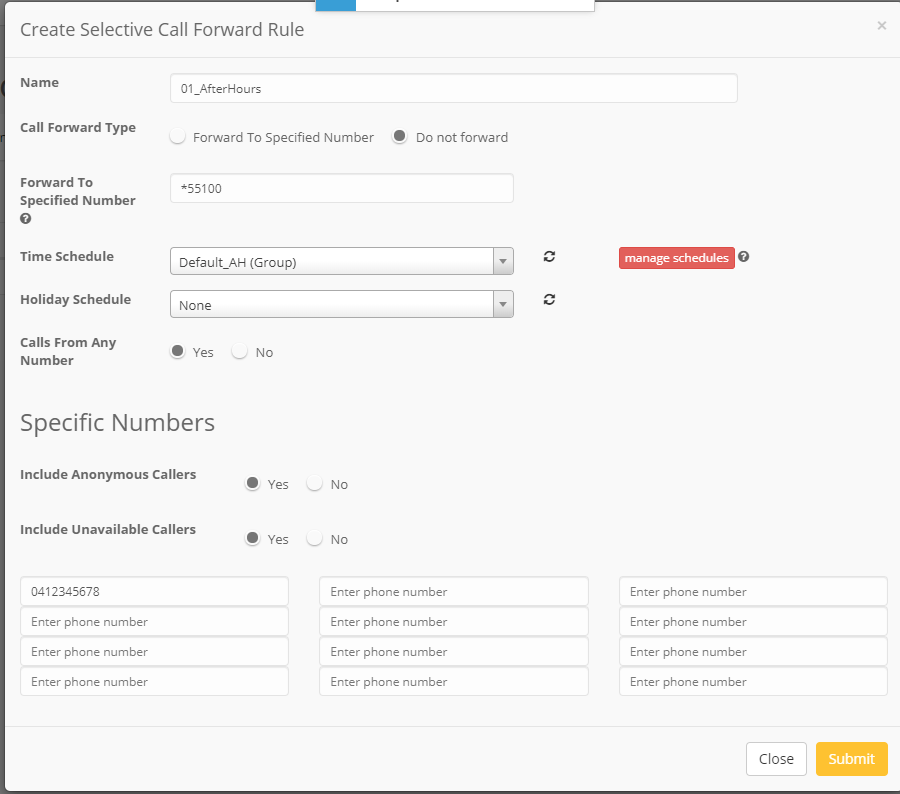
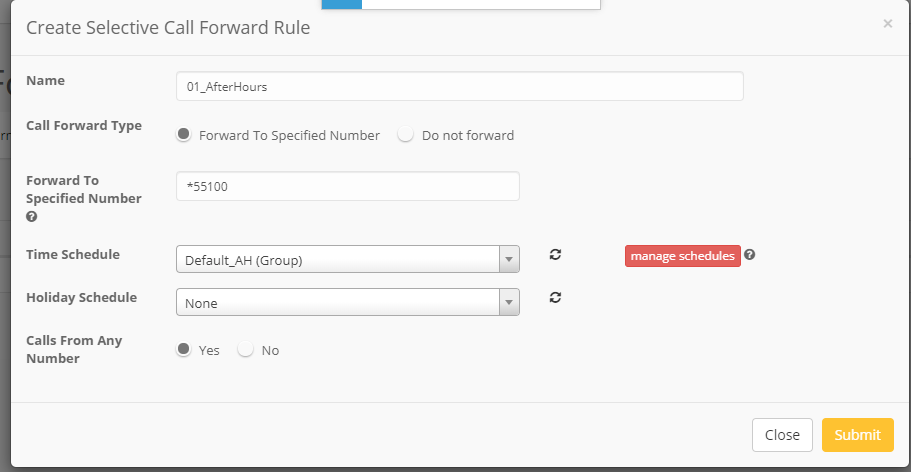
Hit “Submit” once all settings are configured.